最新更新:
2018/06/14 更新通过 systemctl 管理 deluge 的启动和停止等
2018/05/28 更新 deluge 安装完自带所有官方插件,可选合成插件包的安装包
Deluge 是一个轻量级的 BT 客户端,界面很清爽,支持很多功能性插件,效果很给力!
官方网站:https://deluge-torrent.org/
系统支持:Ubuntu 14.04/16.04/16.10/17.04 和 Debian 7/8
参考链接:https://dev.deluge-torrent.org/wiki/Installing/Source
1.安装 deluge
1.1.安装依赖
apt-get update
apt-get install python unzip python-twisted python-openssl python-setuptools intltool python-xdg python-chardet geoip-database python-libtorrent python-notify python-pygame python-glade2 librsvg2-common xdg-utils python-mako
1.2.下载安装包
1.2.1.Diy 安装包
这里我自己提供了已经融合了ltconfig 和 autoremoveplus插件的安装包
ltconfig 插件来源:https://github.com/ratanakvlun/deluge-ltconfig
autoremoveplus 插件来源:https://github.com/omaralvarez/deluge-autoremoveplus
包含1.3.8-1.3.15各版本,如安装 1.3.15 版本的 deluge 代码如下!其它版本更改对应版本号即可!
wget https://down.ymgblog.com/deluge/deluge-1.3.15.zip
unzip deluge-1.3.15.zip
cd deluge-1.3.15
1.2.2.官方安装包
只含基础插件,你可以后来自己再安装其它的也行,稍微麻烦了一点。
Deluge 官方安装包地址:http://download.deluge-torrent.org/source/
需要哪个版本就 wget 哪个版本的安装包,如下载 1.3.15 的安装包并解压,如需其他版本改对应的版本号即可!这个版本是不带
wget http://download.deluge-torrent.org/source/deluge-1.3.15.tar.gz
tar -xzvf deluge-1.3.15.tar.gz
cd deluge-1.3.15
1.3.安装
python setup.py build
python setup.py install --install-layout=deb
python setup.py clean -a
2.配置 system 服务
参考:https://dev.deluge-torrent.org/wiki/UserGuide/Service/systemd
这个配置完了就不用手动启动 deluge 了,可以自动启动,方便管理 deluge。
2.1.配置 deluged.service
创建文件 /etc/systemd/system/deluged.service ,然后写入以下内容保存退出即可
[Unit]
Description=Deluge Bittorrent Client Daemon
Documentation=man:deluged
After=network-online.target
[Service]
Type=simple
User=root
UMask=007
ExecStart=/usr/bin/deluged -d
ExecStop=/usr/bin/kill /usr/bin/deluged
Restart=on-failure
TimeoutStopSec=300
[Install]
WantedBy=multi-user.target
2.2.配置 deluge-web.service
创建文件 /etc/systemd/system/deluge-web.service ,然后写入以下内容保存退出即可
[Unit]
Description=Deluge Bittorrent Client Web Interface
Documentation=man:deluge-web
After=network-online.target deluged.service
Wants=deluged.service
[Service]
Type=simple
User=root
UMask=007
ExecStart=/usr/bin/deluge-web -p 8112
ExecStop=/usr/bin/kill /usr/bin/deluge-web
Restart=on-failure
[Install]
WantedBy=multi-user.target
3.启动 deluge
启动deluged服务和deluge-web服务并设置开机自启动,可用如下命令
systemctl enable deluged
systemctl enable deluge-web
systemctl start deluged
systemctl start deluge-web
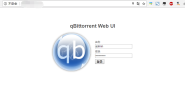
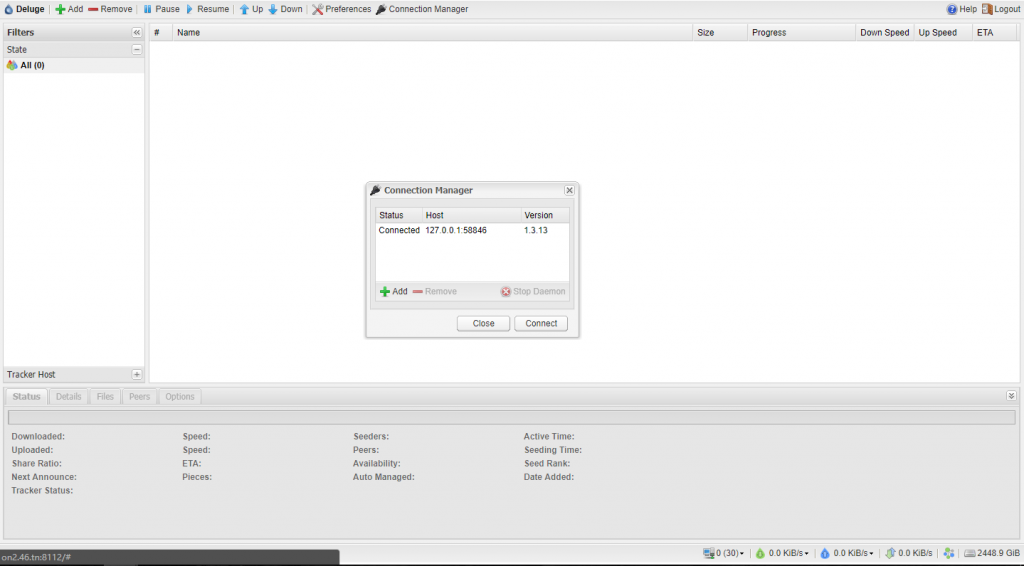
然后访问 http://IP 地址:8112 就可以进入Deluge的WebUI
输入密码后如下图,点击 connect 就可以连接上服务器,开始使用了
4.安装 itconfig 插件
Itconfig 是 Deluge 的一个插件,可以用于修改一些设置,增快 deluge 的整体速度!
如果你是使用的我自制的安装包就不需要再看这里了!
官方地址:https://forum.deluge-torrent.org/viewtopic.php?t=42887
Github 地址:https://github.com/ratanakvlun/deluge-ltconfig
下载地址:https://github.com/ratanakvlun/deluge-ltconfig/releases/download/v0.3.1/ltConfig-0.3.1-py2.7.egg
首先点击上面的下载地址下载插件,然后打开 deluge 的选项设置,选择 plugins,然后选择 install 安装

然后在设置的下方会出现 itconfig 的设置,接着设置如下

然后重启 deluge 就完事了!
5.注意事项
如遇到 webui 访问不了的问题,大概率是防火墙没有开放 8112 端口,开放下这个端口就可以了。
你可以在这里查看你的端口开放情况!
- linux 下开放 8112 端口:
iptables -I INPUT -p tcp --dport 8112 -j ACCEPT
- 开放全部端口
iptables -P INPUT ACCEPT
iptables -P OUTPUT ACCEPT
iptables -F
其它相关设置都在preference(webui 上方)里面,主要就是设置bandwidth,全部改为-1就行了。其它的自行研究下把!